< Back to all posts
Myths about RAW Video
Imagine shooting a project and having full control over your motion imaging in every manner you wish, in terms of color, exposure, saturation, brightness, and contrast. Now imagine your client changed their mind about the ‘look’ after the shoot. For those who have been in the business for a while, you are well aware that when one ‘bakes in’ a look and feel to the image, it’s permanent. Sure in some cases it can be slightly altered or enhanced, but for the most part once that decision is made, it’s final, unless you’re shooting “RAW” video!
For years the video production business worldwide has been a ‘simple’ one in terms of ‘final look’ for material. Many photographers had their cameras ‘set up’ by a qualified engineer who made their camera ring true with every color and created an equal stepping of tones from black to white. Others added a bit of ‘warmth’ to the image because they felt the ‘straight look’ was just too cold. “Set up cards” would come onto the scene and allow for changes of these initial setups to either be placed ‘on top’ of the base setup or in some cases replace the base setup altogether. In many respects this last option is still in effect today in terms of “looks,” “camera profiles,” and “LUTs” depending on the make and model of the camera being used.
Still cameras were the first to use and embrace the concept of “RAW” image capture. Raw image formats are intended to capture images to the best of the specific camera sensor’s performance. This means the physical information about the light intensity and color of the scene are captured and interpreted as the sensor truly ‘sees’ them, however these attributes are also able to be changed, much like ‘painting’ a camera prior to going into the field. Those changes occur after the image is captured.
Most raw image file formats store information sensed according to the geometry of the sensor’s pixels rather than points in the expected final image. When shooting RAW, nearly all of the attributes of the image (color balance, saturation, contrast, etc.) are captured in such a manner that they are infinitely changeable. Further, changes are completely non-destructive to the original material; they can be changed again and again with no quality loss to the material. In addition to the other attributes already listed, if you want to change things like shadows, highlights, whites, blacks, clarity, and vibrance, all you need to do is adjust sliders in your favorite image editor like Photoshop or Lightroom and voila! You’ve created your masterpiece!
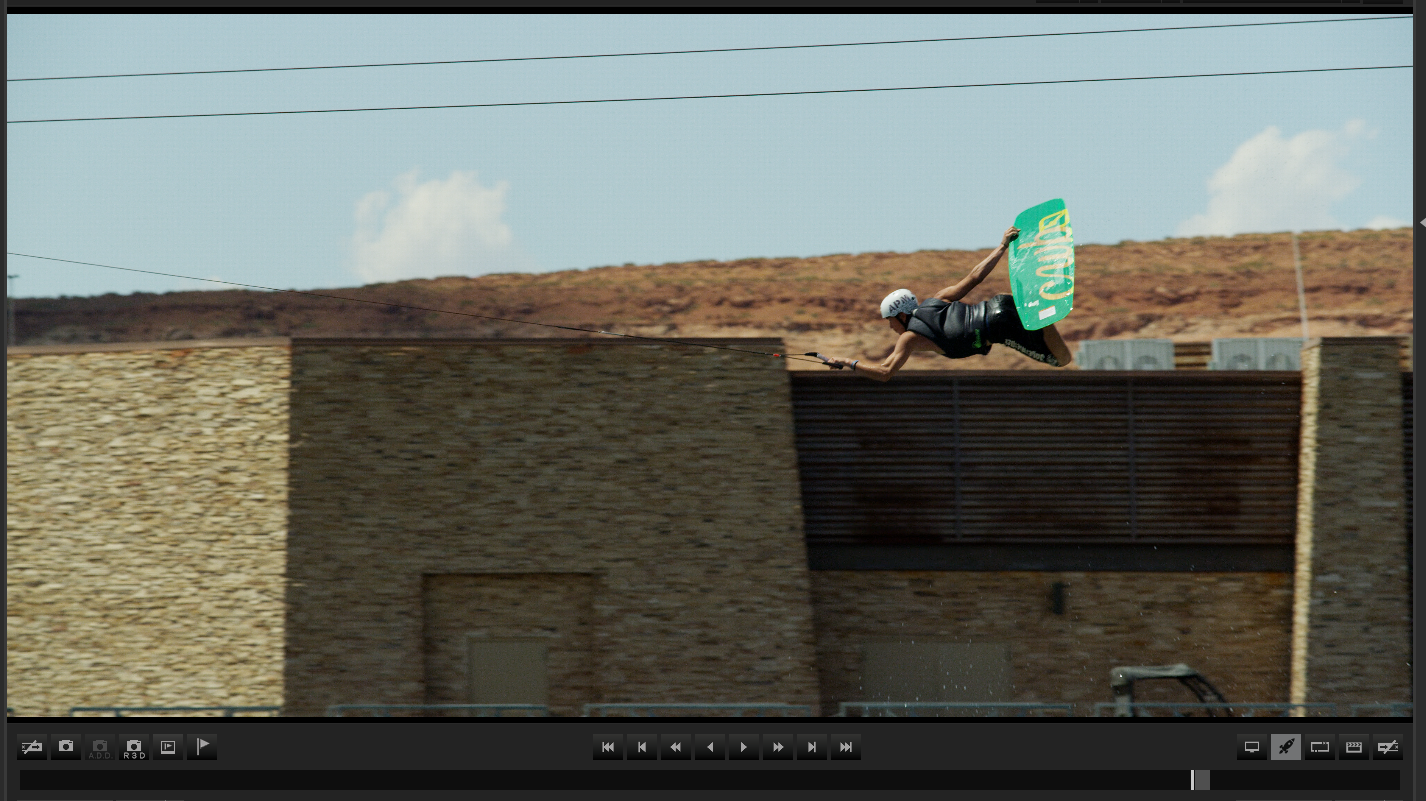
One of the first motion imaging companies to completely embrace the concept of RAW image capture was Red Digital Cinema. When many traditional professionals saw these images, they thought they looked horrible! After all, the images were flat, washed out (almost as if someone spilled milk over the image) and completely unflattering.
The real beauty of the image transpired in post-production through the knowledge of an experienced colorist.
It was because of this ‘odd’ workflow that many, including yours truly, originally scoffed at the idea of shooting this way for their everyday productions. After all, the genesis of this concept was circa 2007 when color grading systems were tremendously expensive and the knowledge of how to operate the equipment was nothing short of mythical. It seemed ridiculous to add an additional step to the post process and who wants to spend more money on your production that wasn’t deemed necessary?
They say people don’t change but in this case, at least for me, they’re wrong! I was definitely set against shooting raw video. I thought it was complicated, time consuming, and expensive with not a lot of value. Boy was I wrong! I first shot with a Red Epic in 2011that first experience forever changed the way I look at image capture.
Although I wasn’t impressed with the image on set, ten minutes in post, and I was blown away! The freedom and the control are absolutely extraordinary! Nearly everything I had learned about RAW video was completely inaccurate. It wasn’t “hard” to do, it wasn’t all that time consuming and it wasn’t expensive! It didn’t hurt the production it enhanced it!
Almost all players in the ‘raw’ video market (Sony, Canon, Arri, and Red) have interface programs that allow for the user to quickly ‘grade’ (manipulate) the image.
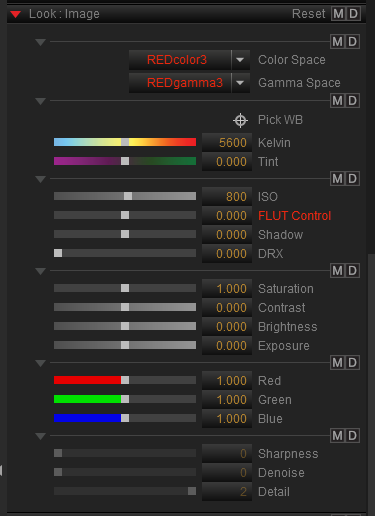
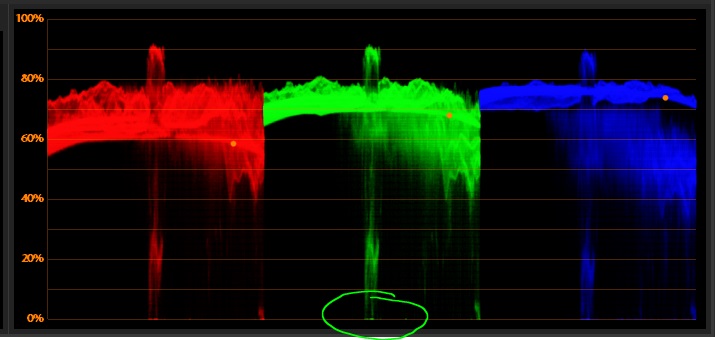
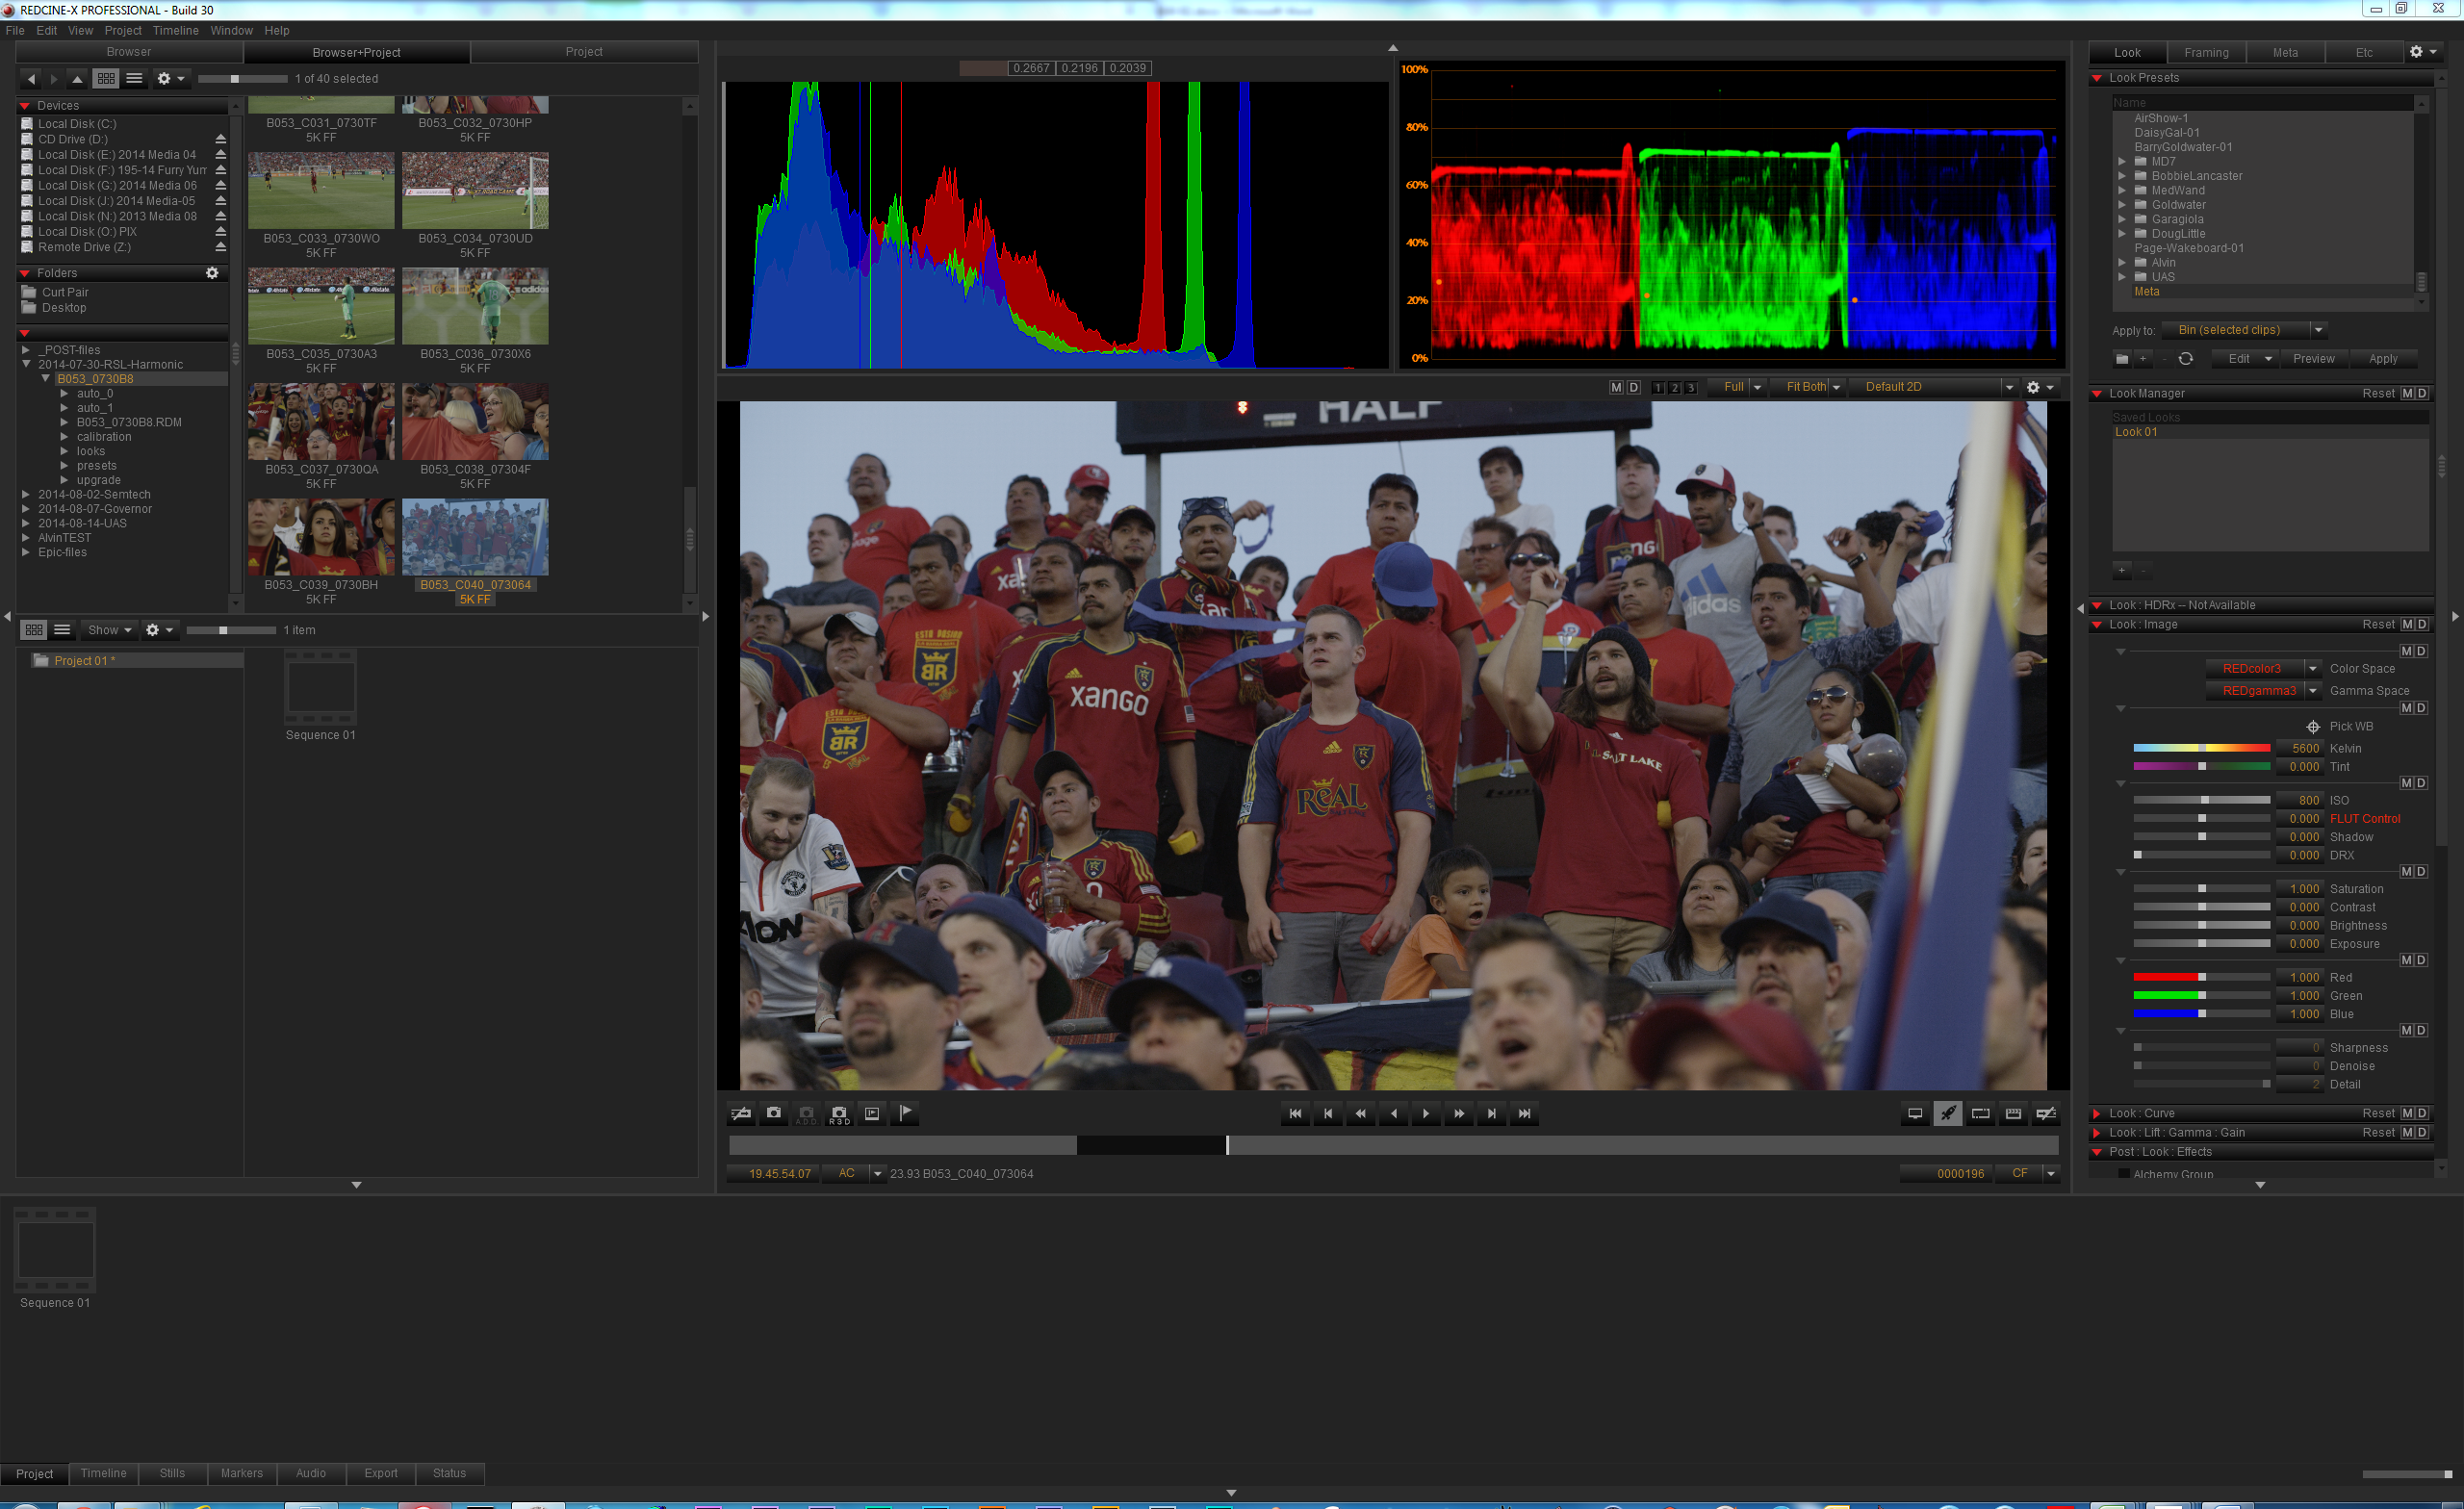
(This won’t be an in-depth lesson in color grading, but rather a quick overview of what can be done quickly and effectively.) First and foremost you’ll want to adjust the black levels. In RCX this is done with the shadow slider.
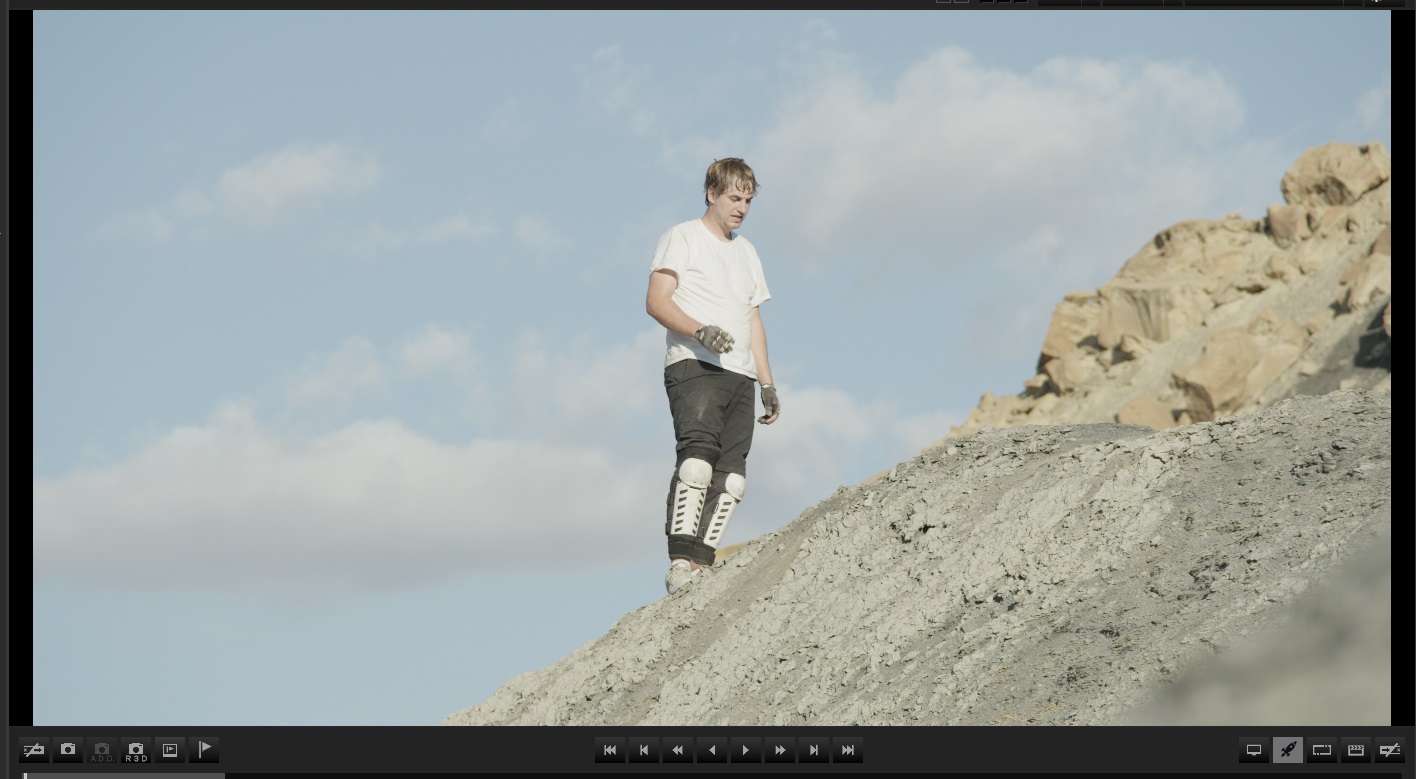
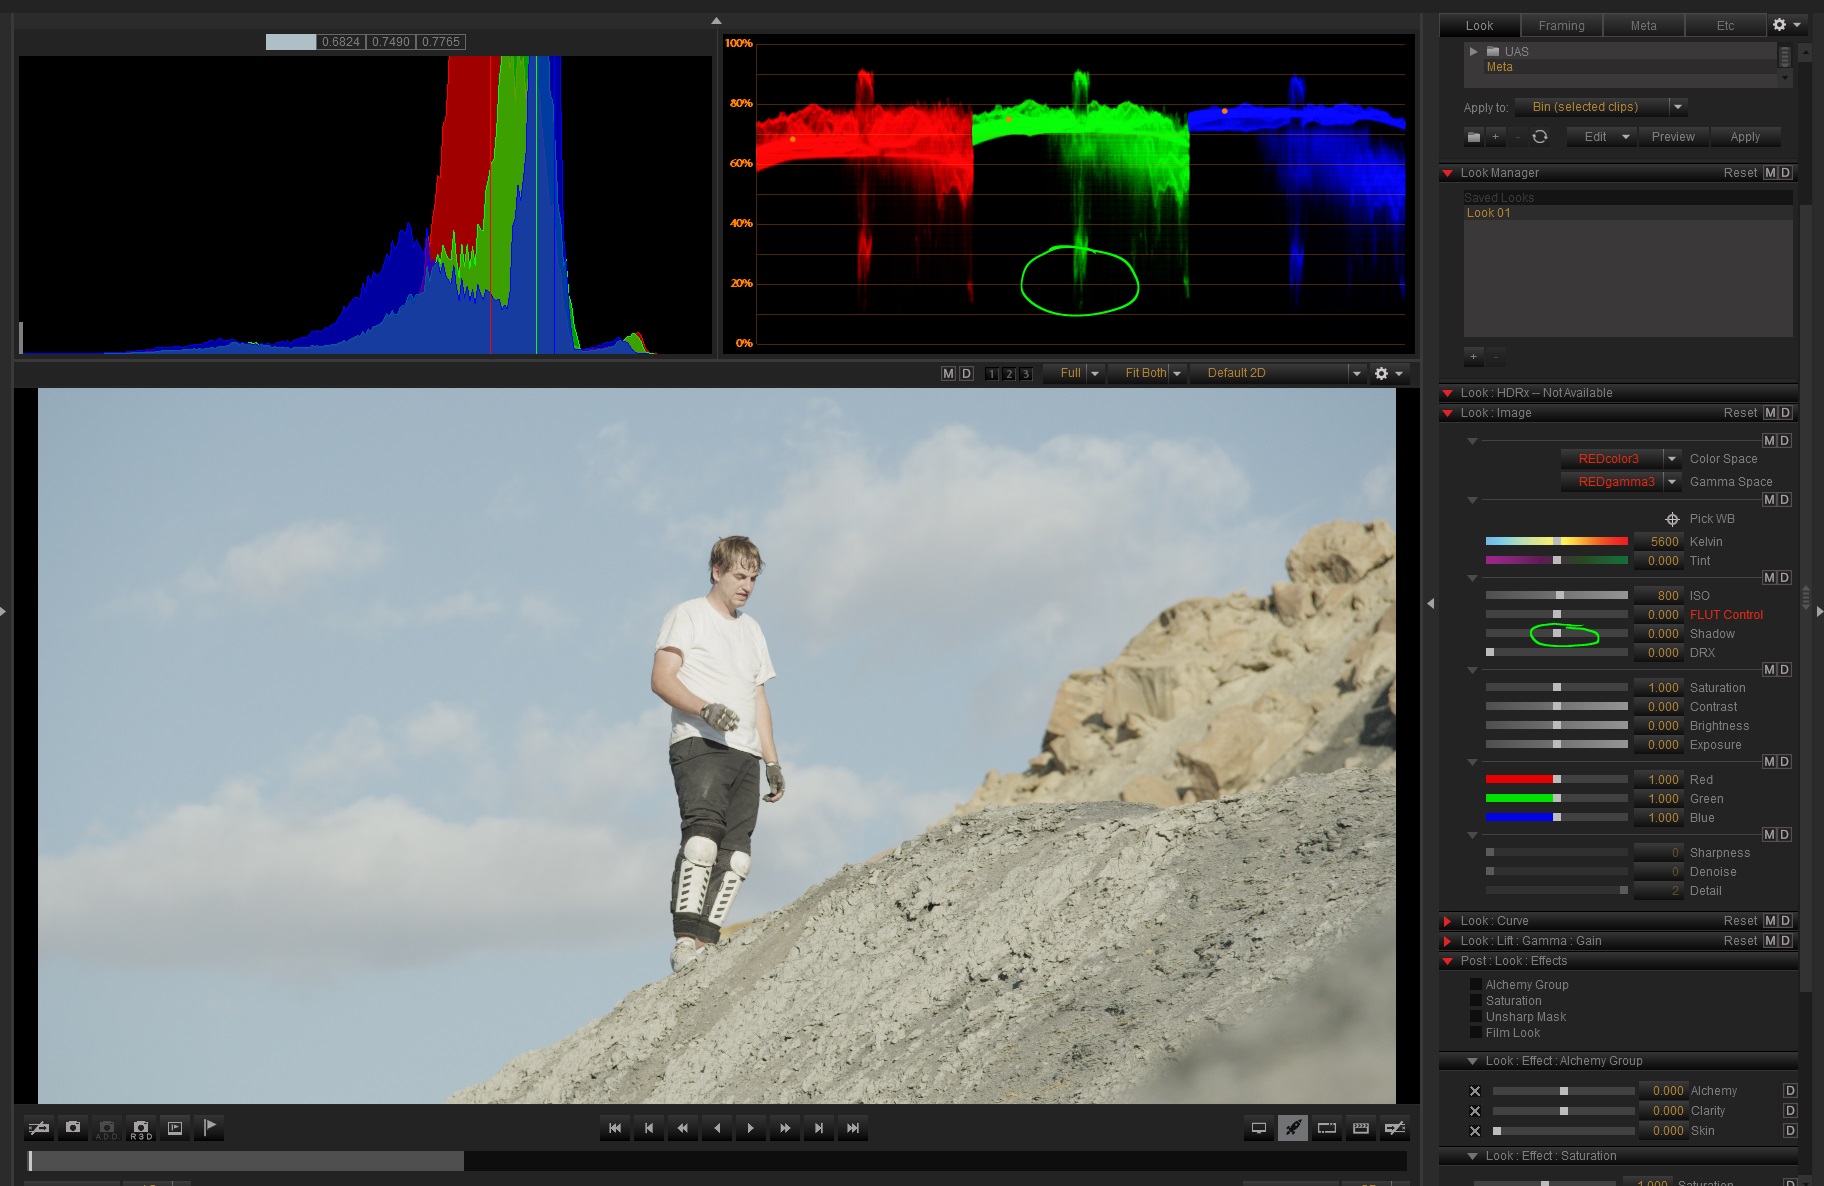
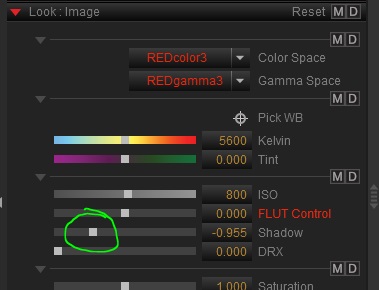 Move the slider until you have just a small touch of the green channel touching the “0” line on the wave form monitor in the program.
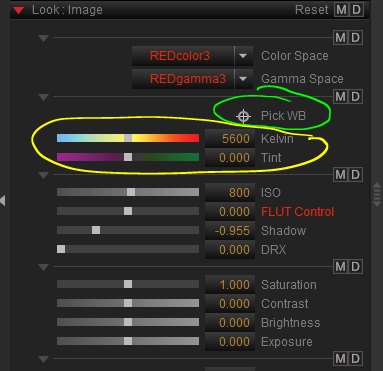
Next adjust white balance to taste… It’s a good practice to start at the intended color temperature of the lights used. You can warm it up or cool it down from there. “Tint” allows for control of magenta and green in the image. If you prefer, you can ‘auto’ white balance by clicking on a white object in the scene and the color temp and tint are established for you. Remember, you can always make changes from there too.
Add saturation, contrast, and brightness to taste and you have a fairly nice looking image in a relatively short amount of time.
.jpg)
(The first few times always take longer but with a bit of practice, you can manipulate images with speed and ease!) As a bonus,you can manipulate the ISO (film speed) and exposure of the image if you deem that’s necessary!
So where does this fit into your real world workflow? For me, I can say that I’ve turned heads on numerous occasions. One of my favorite examples is with a very popular sports broadcasting channel. A producer buddy of mine had a project in which a father and son were the ‘pros’ at a country club. Both lived in the neighborhood surrounding the golf course. Typically, they met each morning around 5am to walk their dogs to the course, have a cup of coffee and plan their day. The producer was hoping for “that gorgeous orange or gold morning light” as they walked to the course. However, it just didn’t look like that. The sun came up faster than anticipated, and that golden hour really didn’t happen on this day. The producer was apprehensive about using filters to try to simulate that look because they often look fake. Further, if his supervisor didn’t like the look of the filter, they were backed into a corner with nowhere to go.
I explained that we were shooting RAW and I could provide him with a few different options. This was not only the producer’s first time shooting with a RED Epic, but his first time shooting with RAW images. He didn’t truly understand what I was trying to tell him, as his years of experience solidified his knowledge that once a shot is captured, there’s only so much that can be done in post. “How can you possibly give me different options? What are you planning on doing? Shooting the same shot with 3 to5 times with different looks? We can’t ask these guys to shoot the same shot over and over again. This isn’t a movie!”
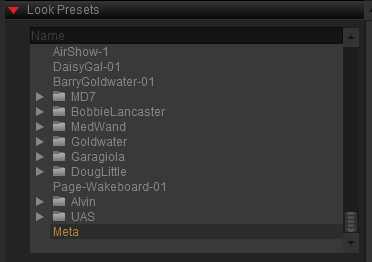
I just smiled and asked him to trust me, which he did. When I sent the footage to him the next day, I had created several different looks that he could use. We had the straight look, a slightly applied “sunrise” look, and then two heavier versions.

Each clip had the same exact timecode and name, with a single variance. There would be an “S_01, S_02, S_03” for the various alternate (or sub-clip) versions and he was free to choose from the different looks!
When the producer of the project received the footage he was elated! He finally understood what I had been trying to explain to him in the field. He ended up using a mixture of the shots and varied the depth of the applied look from wide, medium and tight shots. From that point forward, he’s been hooked on the notion of RAW recording.
It’s possible to take this ‘grading’ to the next level with programs like Resolve, Speedgrade, Scratch, and Apple Color. This type of software is extremely affordable in today’s production world. In fact, DaVinci Resolve is actually FREE for their ‘light’ version which allows output up to 1080!
Thanks to websites like Lynda.com and Colorgradingcentral.com, learning how to use these programs is simple, easy, and fun. In a matter of hours, one can be grading on the next level.
These programs utilize the power of RAW and the power of selecting portions of the image to manipulate. If a person has pale blue eyes, but you would prefer them to be more intense no problem! If you want to soften just the skin tones on your talent’s face, while leaving their hair, clothing and surroundings in razor sharp focus no big deal. We did some shooting for the a NBA team, in which we made the color palette of the opposing teams uniforms less saturated, thus making them stand out.These manipulations can all be made in the moment and the original footage remains unharmed for future manipulations; especially if the client changes their mind! This also enhances the value of the footage because it can be repurposed with many looks.
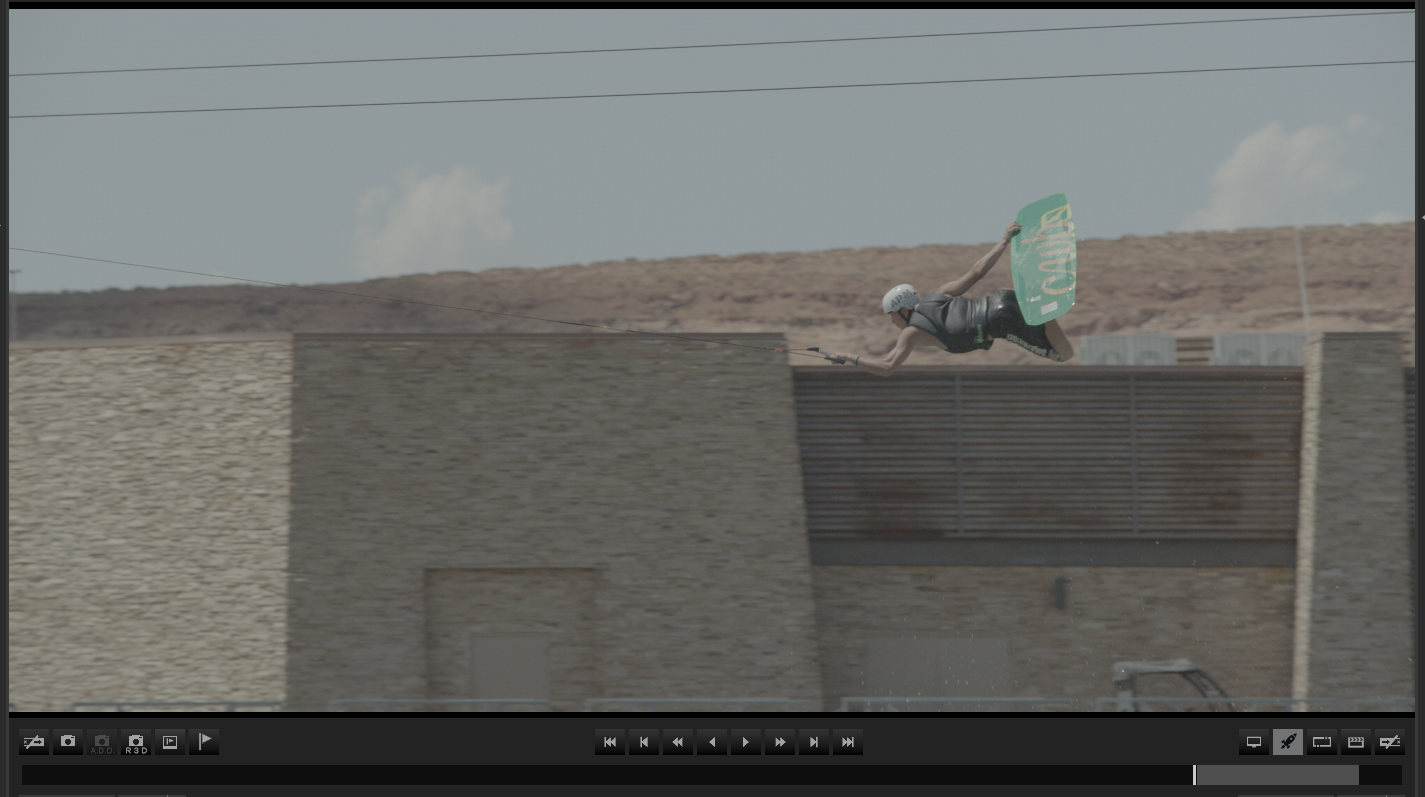
Consider harnessing the power of RAW video images in your next production. It just might make the difference between ‘it looks nice’ and ‘it looks AWESOME!’


.PNG)




Thanks Curt, Your article “Myths About Raw Video” Explains the Raw Advantages far better than I have been able to do it. Especially the extra step myth. Yes while its an extra step what a wonderful step it is, and as you say after very little practice its like no extra step at all. Thanks again, Wayne
Wayne,
Thanks for taking the time to not only read the article, but to comment. I’m glad you found it interesting and informative. Shooting in “RAW” is absolutely wonderful, and the more you use it, the more you love it! The control over your images is just tremendous. I’m glad you’re finding the workflow to be easy and hassle free!
I agree with Wayne, This article has provided some great insights into shooting “RAW”. It has helped me understand the power and flexibility of “RAW”. I look forward to more articles from Curt.
Hi Brett: We are happy that this article is helpful. Let us know if there are topics you would like us to explore.—Best Rebekah